If you're an intermediate or experienced Angular developer currently on Angular 16, this guide will walk you through upgrading to Angular 19 step by step. We'll highlight the key features introduced in each version, required code changes, and real-world troubleshooting tips to make your upgrade smooth and successful.
Why Upgrade to Angular 19?
Angular 19 brings:
- Modern reactivity with Signals
- Stable typed reactive forms
- Zone-less bootstrapping for better performance
- New control flow syntax (@if, @for, etc.)
Upgrading not only improves performance but also helps future-proof your application by aligning with Angular latest best practices.
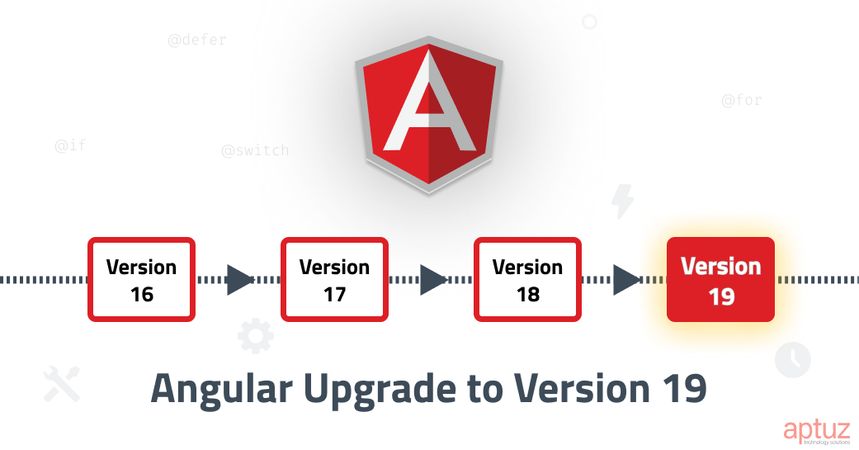
Upgrade Roadmap: Angular 16 → 17 → 18 → 19
Angular upgrades must be done one major version at a time.
Step 1: Upgrade Angular 16 → 17
Run:
ng update @angular/core@17 @angular/cli@17
What’s New in Angular 17
- New control flow syntax: @if, @for, @switch
- Enhanced SSR hydration
- Optional migration to [control] in template-driven forms
Code Changes
Before (v16):
<div *ngIf="isLoggedIn">Welcome!</div>
After (v17):
@if (isLoggedIn) {
  <div>Welcome!</div>
}
Note - Minimum Node.js version: >= 18.13.0
Fix common CLI issues:
npm install -g @angular/cli
Step 2: Upgrade Angular 17 → 18
Run:
ng update @angular/core@18 @angular/cli@18
What’s New in Angular 18
- Signals API (Developer Preview)
- Deferred loading with @defer
- Initial support for zone-less applications
Code Changes
Deferred Loading:
@defer {
  <app-heavy-component />
} @placeholder {
  Loading...
}
Reactive State with Signals:
count = signal(0);
increment() {
  this.count.update(c => c + 1);
}
Step 3: Upgrade Angular 18 → 19
Run:
ng update @angular/core@19 @angular/cli@19
What’s New in Angular 19
- Signals API is now stable
- Support for typed reactive forms
- Better build & SSR performance
- Smoother route transitions with Router-level defer and built-in preloading enhancements
Code Changes
Signal-based Input:
@Input({ required: true }) count = input<number>();
Typed Forms:
form = new FormGroup<{
  name: FormControl<string>;
}>({
  name: new FormControl(''),
});
Zone-less Bootstrapping:
bootstrapApplication(AppComponent, {
  providers: [
    provideZoneChangeDetection(), // Enables zone-less mode
    provideHttpClient()
  ]
});
Router-Level Deferred Loading Example:
export const routes: Routes = [
  {
    path: 'dashboard',
    loadComponent: () => import('./dashboard/dashboard.component'),
    data: {
      // Angular 19 automatically defers loading and can show placeholder
      defer: true,
      placeholder: 'Loading dashboard...'
    }
  }
];
Common Errors & Fixes
Peer Dependency Conflicts
You may run into messages like:
- Package "jest-preset-angular" requires build-angular <18.0.0
- @ng-bootstrap/ng-bootstrap requires Angular ^16.0.0
Solutions
- Run npm info <package> to check for compatible versions
- Replace or remove incompatible libraries
- Use --legacy-peer-deps as a temporary workaround:
npm install --legacy-peer-deps
Avoid using in production setups
Post-Upgrade Checklist
- Run ng lint, ng test, and ng build
- Fix any TypeScript and migration warnings
- Check and update tsconfig.json settings
- Test application routes, lazy-loaded modules, and SSR rendering
- Review and update third-party dependencies
- Gradually refactor components to use Signals and new control flow syntax
Final Thoughts
Upgrading from Angular 16 to 19 isn't just a version jump, it's a transition into modern Angular development. With declarative syntax, reactive programming patterns, and typed forms, your apps will be cleaner, faster, and easier to maintain.
Take it one step at a time, test thoroughly, and embrace the new features as you refactor. Have questions or got stuck during an upgrade? Drop a comment or reach out!